How to Build Your First App: A Beginner’s Step-by-Step Guide
Everyone has had the thought: “I have an idea for an app.” Most people leave it there. But to build your first app is more achievable than it has ever been. The tools are better, the learning resources are free, and AI coding assistants can help you past the parts where you’d normally get stuck.
This guide is for complete beginners. It walks you through every stage — from idea to finished, working product — without assuming you know anything about coding.
Step 1: Start With a Problem, Not a Feature List
The biggest mistake first-time app builders make is starting with what they want the app to do rather than the problem it solves. A long list of features is exciting to think about. It’s also a fast path to building something nobody uses.
Start simple. What is the one thing your app does better than anything else? A habit tracker that actually works. A recipe app built around ingredients you already have. A budgeting tool with no unnecessary complexity. The best first apps solve one problem well — not ten problems poorly.
Write it down in a single sentence: “My app helps [type of person] do [specific thing] so that [outcome].” If you can’t fill that in clearly, keep thinking before you write a single line of code.
Step 2: Choose What Kind of App You’re Building
There are three main types of apps, and which one you build shapes every decision that follows.
Web apps run in a browser. They work on any device without needing to be installed. They’re the easiest to build and deploy. If you’re a complete beginner, this is usually the best starting point.
Mobile apps are installed on phones. iOS apps are built with Swift. Android apps use Kotlin. If you want to be on both platforms, React Native and Flutter let you write one codebase that works on both — a big time saver.
Desktop apps run on Mac or Windows. They’re less common for first-time builders but can be built with tools like Electron if you already know JavaScript.
If this is your first app, build a web app. Get something working and in people’s hands. Mobile can come later.
Step 3: Pick the Right Language
For web apps, you need to know three things: HTML (structure), CSS (styling), and JavaScript (behaviour). These are the building blocks of everything on the web. You don’t need to master them before you start — you learn as you build.
If you want a framework to speed things up, React is the most widely used and has the largest community. It has a learning curve, but the payoff is worth it. For the back end — the part of your app that stores and manages data — Node.js lets you use JavaScript there too, keeping things consistent.
For mobile, React Native is the most beginner-friendly cross-platform option. For Python fans, Django is an excellent full-stack web framework that lets you build complete apps with relatively little code. Check out our guide on how to choose the right programming language to learn first if you’re still deciding.
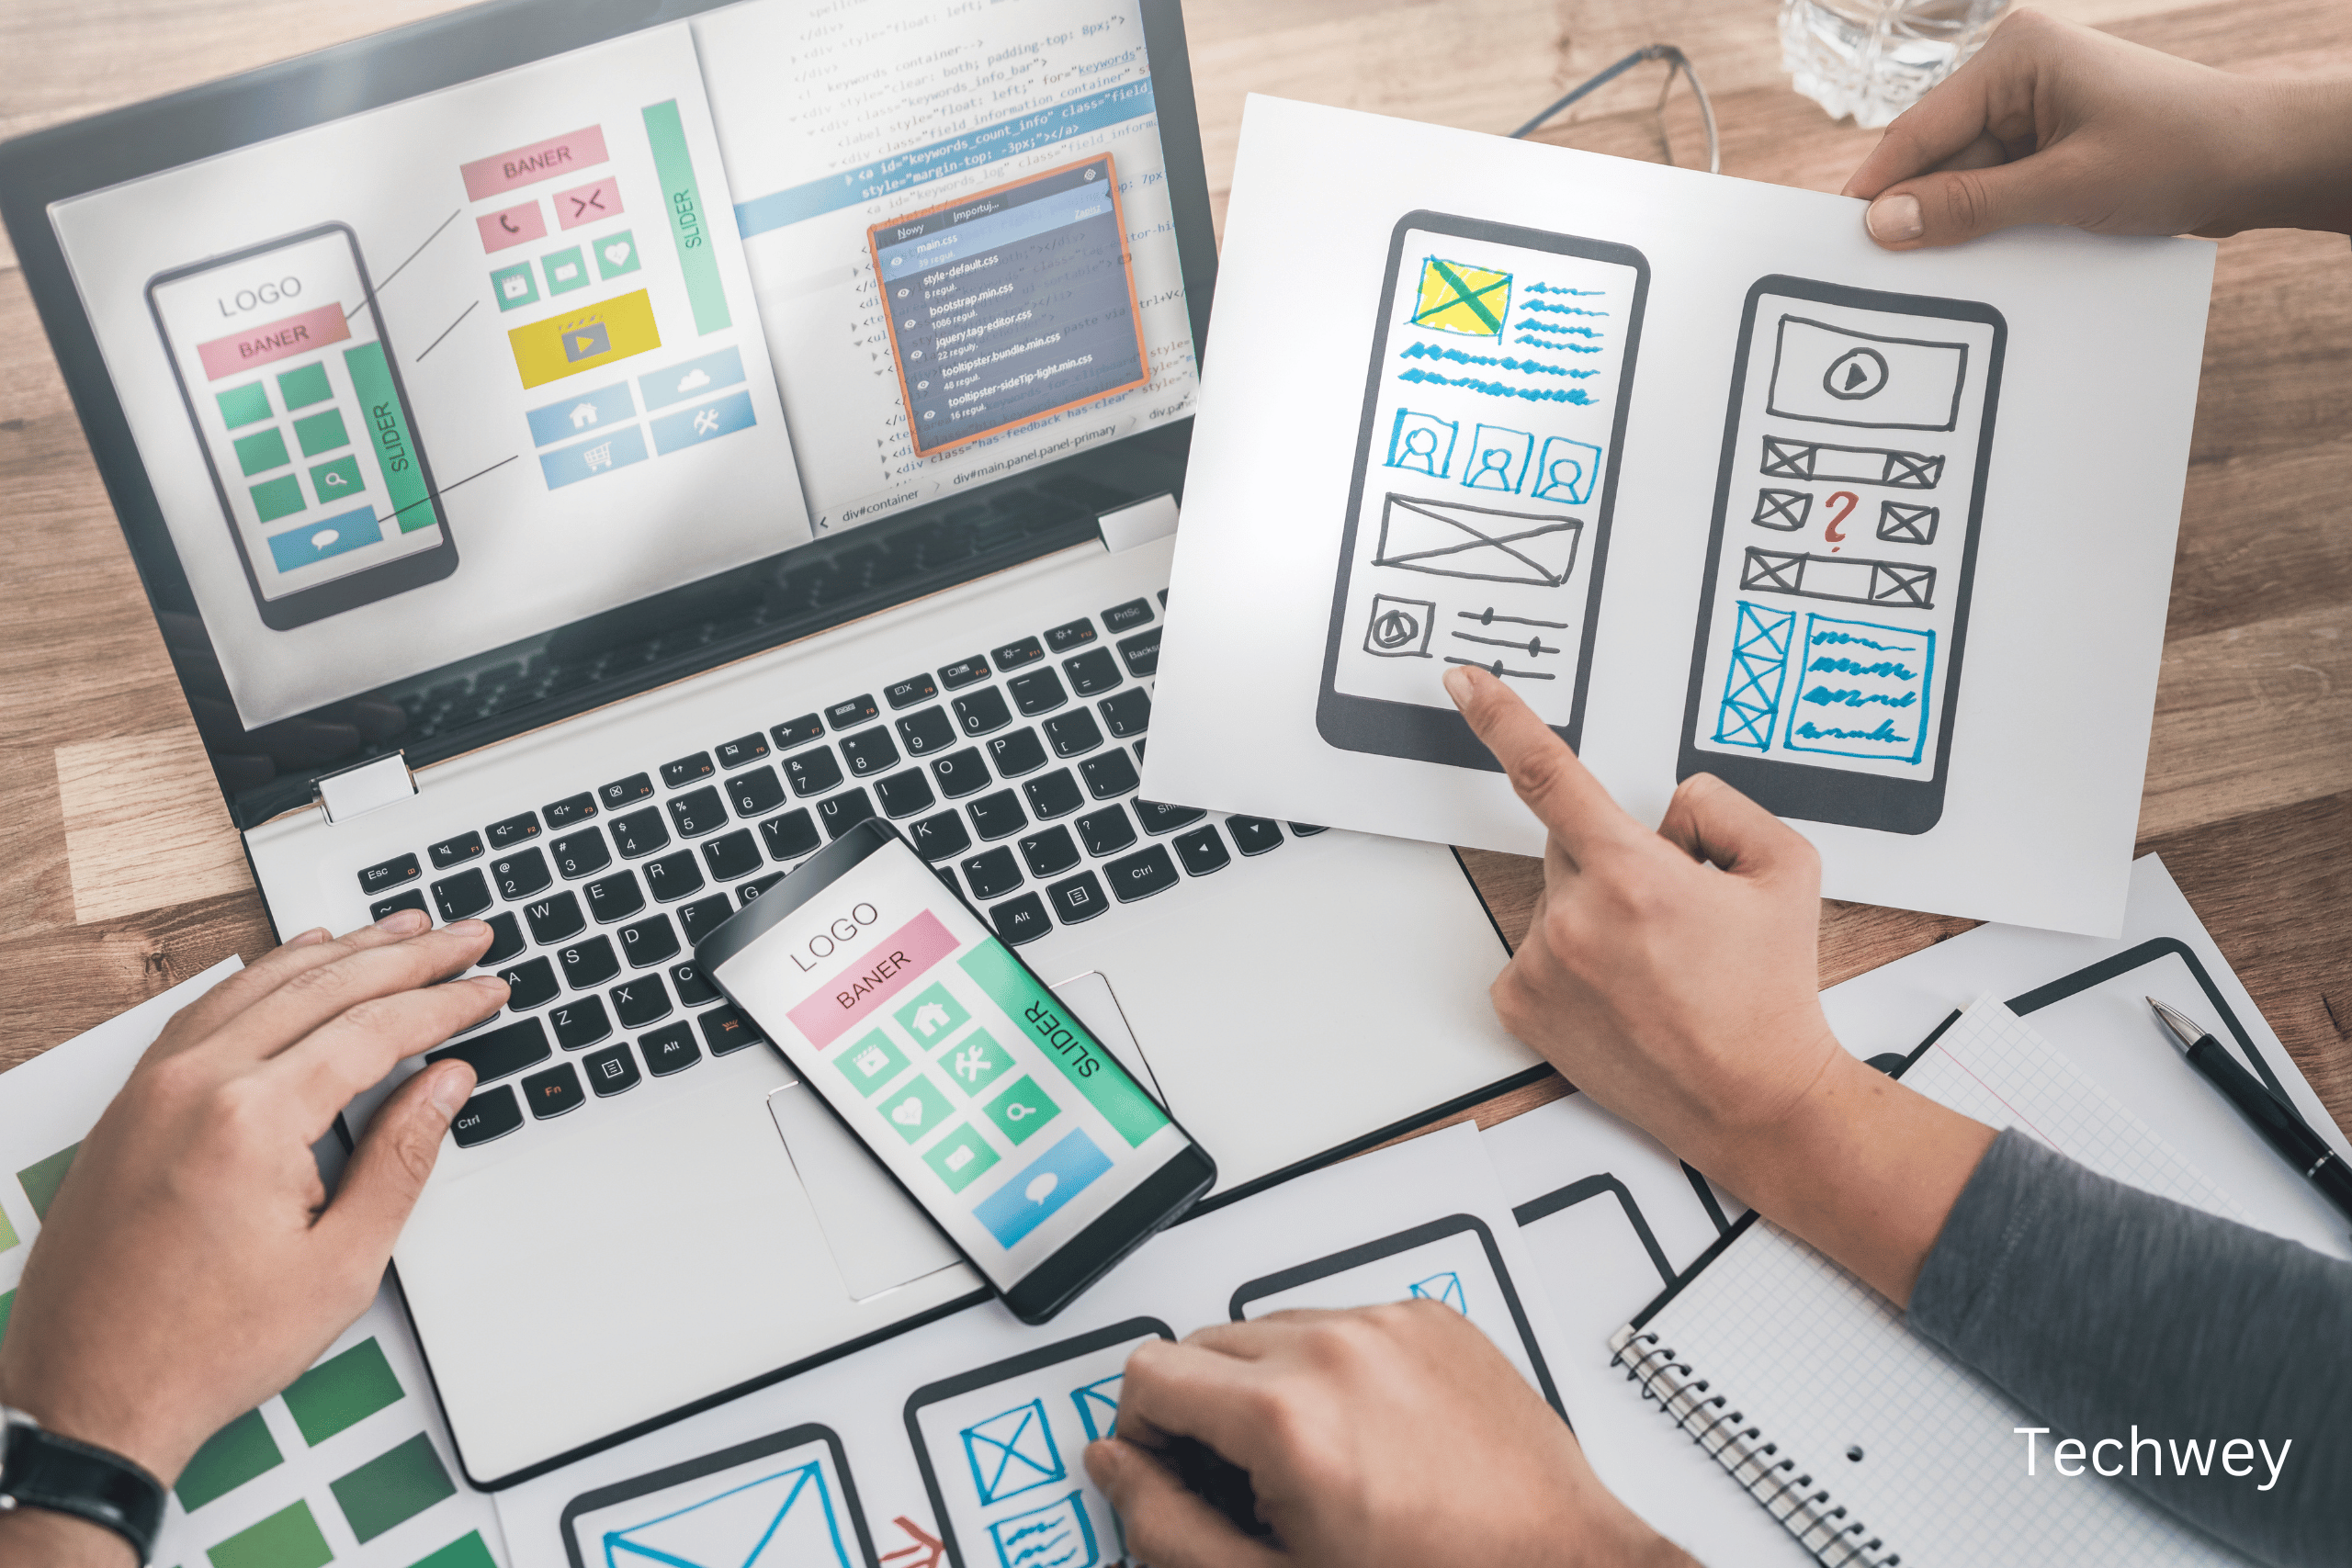
Step 4: Sketch Before You Code
Before you open a code editor, sketch what your app looks like. You don’t need design skills — a rough drawing on paper or a simple wireframe on a tool like Figma is enough.
Ask yourself: What does the user see first? How do they move from one screen to the next? Where do they input information and where does the app show results?
This step saves enormous amounts of time. It’s much faster to rethink a sketch than to rewrite code. Even experienced developers wireframe before building. Do not skip this step.
Step 5: Set Up Your Development Environment
A development environment is where you write and test your code. Here’s the basic setup you need:
- A code editor. Visual Studio Code is free, fast, and the most popular choice in the world. Download it first.
- A browser with developer tools. Chrome’s built-in DevTools lets you inspect your app, catch errors, and debug in real time.
- Version control. Set up Git and create a free GitHub account before you write your first line. This backs up your work and tracks every change. If something breaks, you can always roll back. We’ve written a full guide on why every developer should learn version control — it’s worth reading before you start.
That’s genuinely all you need to start. Resist the temptation to spend a week configuring the perfect setup. Get the basics working and start building.
Step 6: Build the Smallest Possible Version First
This is called a Minimum Viable Product, or MVP. It means building just enough of your app to make the core feature work — nothing more.
If your app is a to-do list, the MVP is: a box to type a task, a button to add it, and a list that shows your tasks. That’s it. No categories, no due dates, no dark mode, no sharing. Just the core loop.
This approach does two things. It gets you to a working product faster, which is motivating. And it forces you to truly understand your app’s most important feature before layering in complexity.
Step 7: Use AI to Get Unstuck
Every beginner hits walls. There’s a bug you can’t find. A concept that doesn’t click. A feature you don’t know how to build. This used to mean hours of searching Stack Overflow. Now it means asking an AI assistant.
Tools like Claude, ChatGPT, and GitHub Copilot can explain code, write functions, spot errors, and suggest approaches — all in plain English. They’re not a replacement for learning, but they dramatically lower the frustration that causes most beginners to quit. The best free AI coding tools can cut your debugging time in half, especially early on.
Use them as a tutor, not a shortcut. Ask them to explain what a piece of code does, not just to write it for you. You’ll learn faster and retain more.
Step 8: Test With Real People
Once your MVP works, put it in front of real people — not just friends who’ll be nice about it. Watch how they use it. What confuses them? What do they ignore? What do they try to do that your app doesn’t support?
This feedback is more valuable than any feature you could add on your own. It tells you exactly what to build next and what to cut. The apps that succeed are almost always the ones that iterated based on real user behaviour rather than the founder’s assumptions.
Step 9: Deploy It
Getting your app live is easier than it used to be. For web apps, Vercel and Netlify both offer free tiers that deploy directly from GitHub. Push your code and your app is live — no server management required.
For mobile apps, you’ll need a developer account — $99/year for Apple, $25 one-time for Google. The submission process takes a few days and requires following each platform’s guidelines.
Get something live. An app that exists is infinitely more useful than one that’s still being perfected on your laptop.
The Bottom Line
Building your first app is hard. It will take longer than you expect. You’ll get stuck more than once. That’s not a sign you’re doing it wrong — it’s just what building things feels like.
The developers who succeed aren’t necessarily smarter. They’re the ones who kept going past the stuck points. Start with one problem. Build the smallest thing that solves it. Ship it. Learn from it. Then build the next version.
That’s the whole process. Everything else is detail.
Read more tech related articles here.