
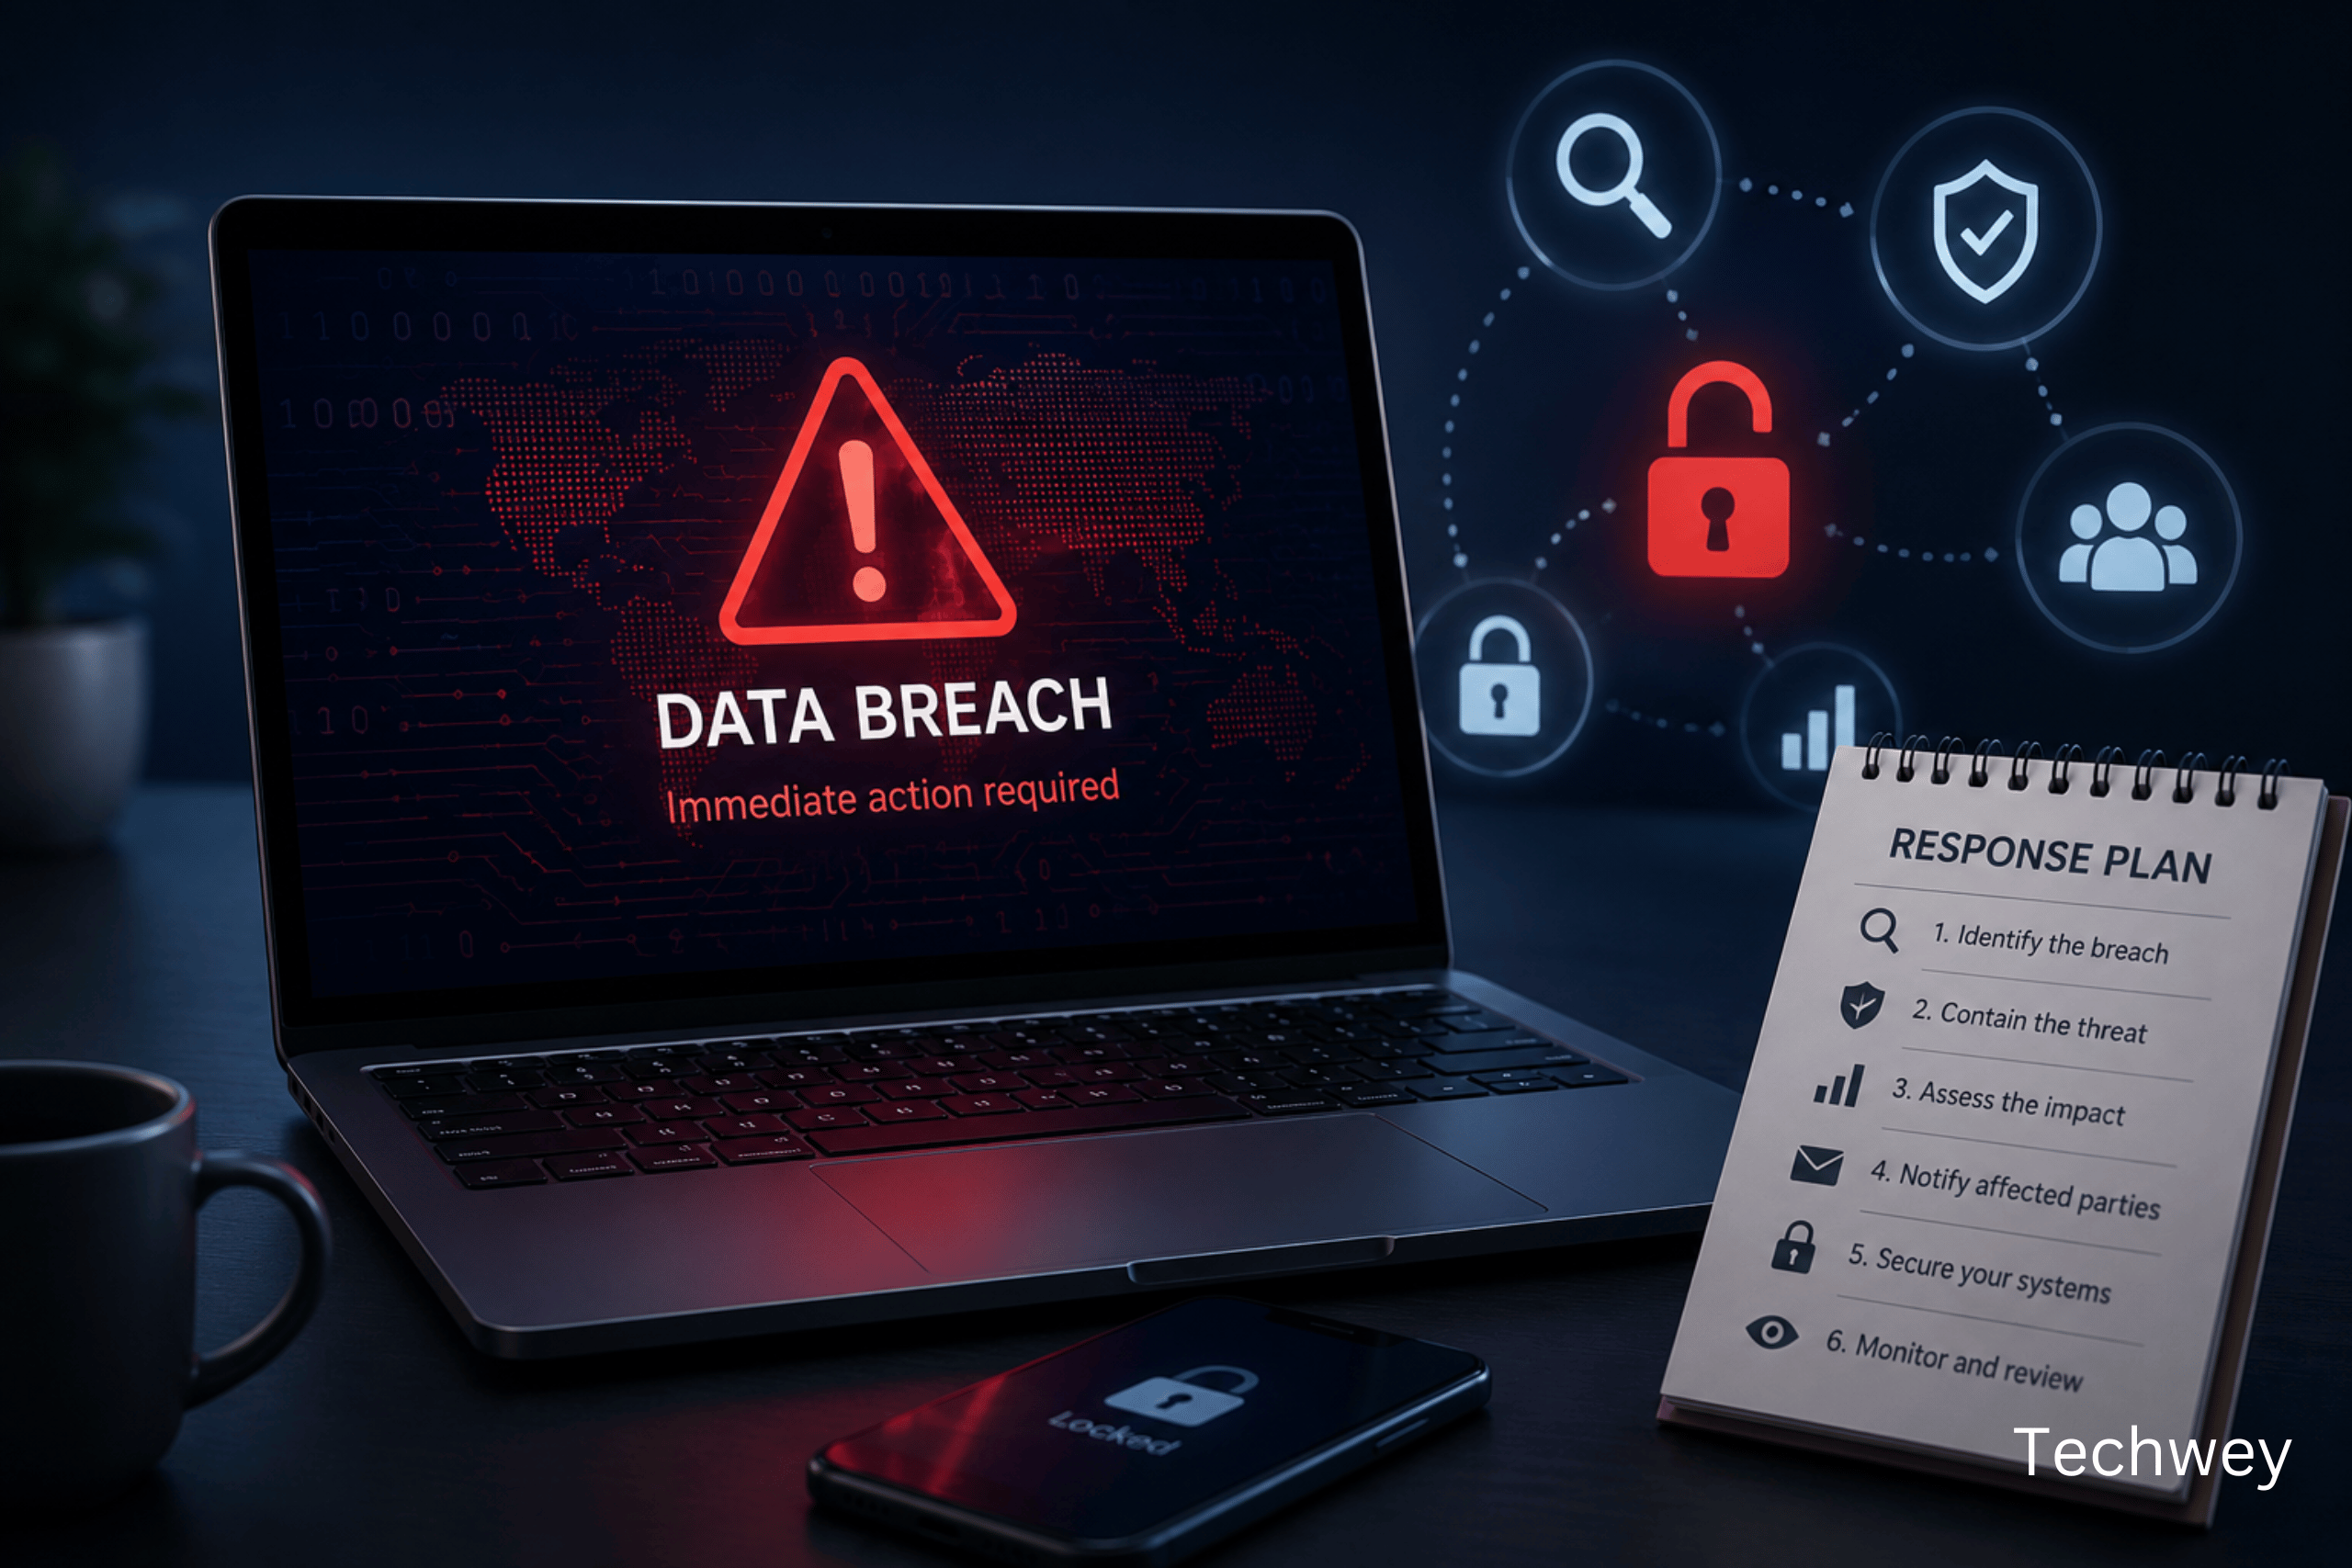
What to Do After a Data Breach: A Step-by-Step Guide
It feels like there’s a new breach headline every week. Between AI platforms exposing private conversations, wallet apps turning out to be scams, and companies quietly notifying users months after the fact, the odds that some piece of your personal data has been caught up in a breach are higher than most people realize.
Panicking doesn’t help, but sitting on your hands doesn’t either. If you’ve just learned your information was exposed, whether through an official breach notice, a headline about a company you use, or a tool that flagged your email, here’s exactly what to do after a data breach, in order of priority.
What to Do After a Data Breach: Start Here
Before anything else, figure out what was actually exposed. Breach notifications usually specify whether the leak involved passwords, payment details, Social Security numbers, health information, or just contact details. That distinction matters enormously, because the right response to a leaked email address is very different from the response to an exposed Social Security number.
If you’re not sure whether your information has shown up somewhere, a tool like Have I Been Pwned lets you check whether your email address appears in any known breaches, and it’s free to use.
Step 1: Change Your Password, Everywhere You Reused It
If the breach involved a password, change it immediately on the affected account, and then check anywhere else you might have reused that same password. Password reuse is exactly how a single breach turns into a cascade of account takeovers, since attackers routinely test leaked credentials against other popular sites, a technique known as credential stuffing.
While you’re at it, this is a good moment to set up a password manager if you don’t already use one, so future passwords are unique and random rather than something you can remember, and therefore something you’re likely reusing.
Step 2: Turn On Two-Factor Authentication
If you haven’t already enabled two-factor authentication (2FA) on the affected account, do it now, and while you’re there, check your other important accounts too, especially email, banking, and anything tied to your identity. 2FA won’t stop every attack, but it blocks the vast majority of automated account takeover attempts that rely purely on a leaked password.
Step 3: Freeze Your Credit If Financial or ID Data Was Exposed
If the breach involved your Social Security number, date of birth, or other identity-verifying information, a credit freeze is one of the most effective things you can do. According to the FTC’s guidance on credit freezes and fraud alerts, a credit freeze stops anyone, including you, from opening new credit accounts in your name until you lift it, and it’s free to place with each of the three major credit bureaus: Equifax, Experian, and TransUnion.
If a freeze feels like too much friction for your situation, a fraud alert is a lighter-touch alternative that requires lenders to verify your identity before approving new credit, though it doesn’t block credit report access the way a freeze does.
Step 4: Watch Your Accounts for Unusual Activity
For at least the next few months, keep a closer eye than usual on your bank statements, credit card activity, and any account tied to the breached service. Small, unfamiliar charges are often a scammer testing whether a card or account still works before attempting something larger. The FTC’s identity theft resource hub is a good bookmark for this stage, since it covers what qualifies as identity theft, how to report it, and how to start the recovery process if something does go wrong.
Step 5: Be Extra Suspicious of Follow-Up Contact
Breaches create a predictable second wave: phishing emails and calls that reference the breach itself to seem more convincing. If someone contacts you claiming to be from the breached company, your bank, or a “security team” offering to help fix the problem, treat it with suspicion by default. Legitimate companies don’t call or text you asking for your password, one-time codes, or payment to “secure your account.” When in doubt, contact the company directly through its official website or app rather than replying to whoever reached out to you first.
More Things to Do After a Data Breach, Depending on What Leaked
In a situation where health information is exposed, keep an eye on your insurance statements for services you never received, a sign of medical identity theft. If children’s personal information was exposed, such as in cases involving school platforms or family apps, it’s worth checking whether a credit freeze is available for minors, since child identity theft can go unnoticed for years simply because kids don’t check their credit. If the breach involved an AI tool or app where you shared sensitive documents, revisit that platform’s sharing settings directly, since several recent incidents have shown that “shareable” links can end up more public than users expect.
Final Thoughts
No single step here is a silver bullet, and that’s kind of the point: data breach recovery is about layering enough small defenses that any one leaked credential or exposed detail doesn’t turn into a bigger problem down the line. Change the password, lock down the account with 2FA, freeze your credit if identity data was involved, and stay a little more alert than usual for a while afterward.
The uncomfortable truth is that breaches are becoming a routine part of using the internet, not a rare event. Building these habits now means the next headline won’t catch you unprepared.
Read more tech related content here.